Timber cladding, like everything else, may sound intimidating as far as installation is concerned. But once it’s installed, maintaining it is just as important. This guide serves to help you realize your artistic and stylistic dreams within your home.
Step 1: Planning and preparing to get started
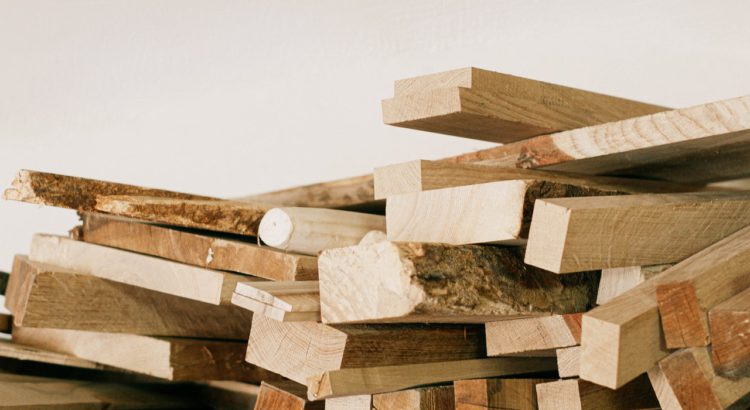
Understanding different types of timber and how they will affect your project is the first and most important step to take before you begin anything. Each style of timber will result in a different final product due to its differing individual grains and natural color. Don’t stress if your Timber doesn’t look as you’d imagined because it can always be coated with a layer of furniture oil stain to achieve the preferred color.
Step 2: Installation
For optimal results, let a professional install your timber cladding. While you are allowed to offer suggestions and bits and pieces of installation guidelines, it’s best to have an expert handle it. And also, take note that you should install cladding panels through a backing structure battens attachment as detailed by the professional himself.
For a quality finish, it’s advisable to have your timber cladding fixed using Stainless Steel with a grade of 304 fixings. Ring shank nails with a flat head are usually the most recommended.

There are two types of fixings:
FACE FIX – This is fixing the nails through the thickest part of the cladding, with each board independently gets fixed. The same thing applies to timber cladding profiles that have a width measurement of over 100 mm.
SECRET FIX – Using single fixing through the bevel line can be used for those who have a width of 100mm and below.
NOTE: Installing the first board per elevations requires face fixing.
Fixings should sit onto the board surface. Doing so by hand is highly advisable, for it avoids overdriven nails splitting the panels or causing irreversible and visible damage.
How wall structures could affect your perspective
Don’t stress if you have doubts about the wall structure you plan to use, as anyone who you hire for this project will already have examined these factors. Let the following notes guide you in forming your queries and suggestions. Later on, you can exchange views about the whole project with the contractor.
- External walls require the battens to be attached to the wall then subsequently fix the cladding to the battens.
- Cavity Walls may need to attach the battens via a screw and plug to get cladding fixed to the battens.
- Attaching the battens to wall studs is need when cladding a timber frame wall. Doing this will make fixing the cladding to the battens possible. It may be a little critical dealing with the timber frame wall considering the required proper airflow. So, ensure a breather membrane for that.
Analyze wall features, like doors, corners, windows, and wirings. Don’t forget other considerations such as plumbing and wiring when deciding where you’re going to place the timber cladding. Ensure once it is finally finalized that it is covered in a layer of clear decking oil, although this product is normally intended for decking it also serves to protect your cladding and prevent damage shortly.
After the proper installation, timber cladding can last for a long time. Just be on the lookout for its maintenance and ensure you regularly apply the appropriate timber finishes to keep it in great condition.
